Tue. 24 Mar 2026
☀️ -3°C in Columbus
Date: 01-may-2025 | By: Nuztrend Team

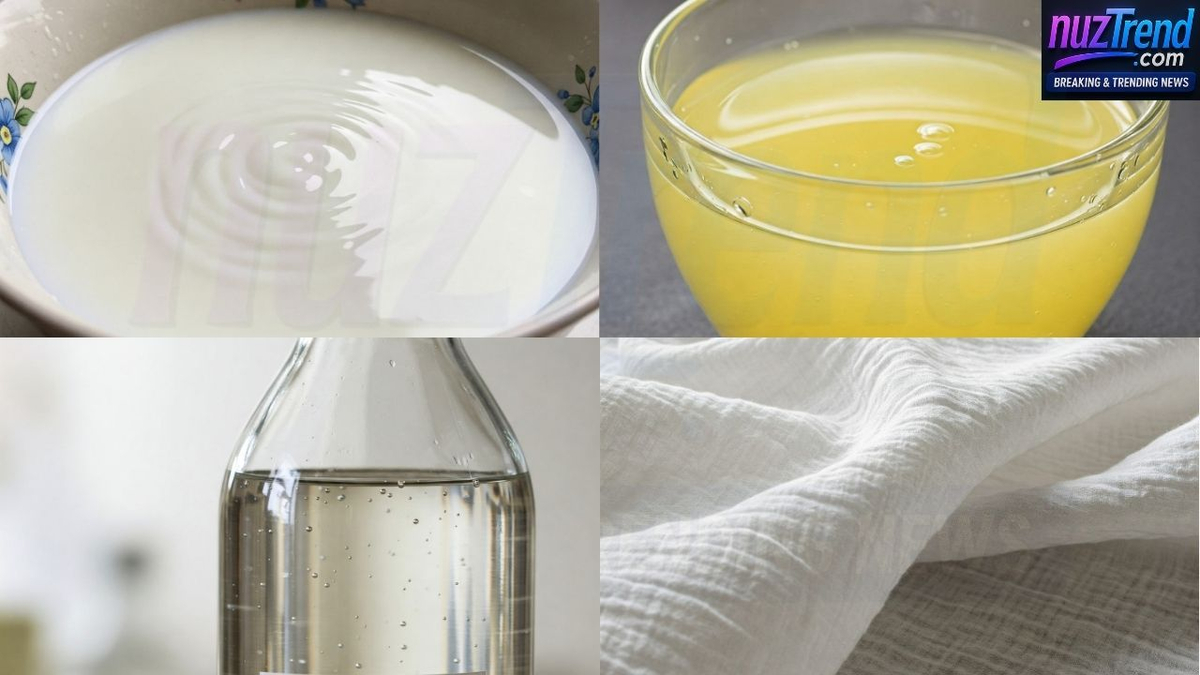
Across India, news of fake or analogue paneer being served in restaurants and sold in shops has shocked millions. Made from starch, synthetic emulsifiers, and vegetable oils, this fake paneer not only lacks nutrition — it could seriously harm your health.
If you’re among those who feel betrayed or worried after unknowingly consuming it, you’re not alone. The good news? You can take control — starting in your kitchen. Making 100% pure, soft paneer at home is easier than you think — and we’ll show you exactly how.
Recent reports reveal that over 50% of restaurants and street vendors are using analogue paneer — a fake version that mimics the texture of real paneer but is made without milk. It’s cheaper, yes — but at the cost of your digestive health, cholesterol, and nutritional value.
Authorities in states like Maharashtra have already begun crackdowns, but until the food chain is fully regulated, homemade is your safest bet.

Heat the milk in a clean pan on medium heat. Stir occasionally to avoid burning. Once it starts boiling, lower the heat to simmer.
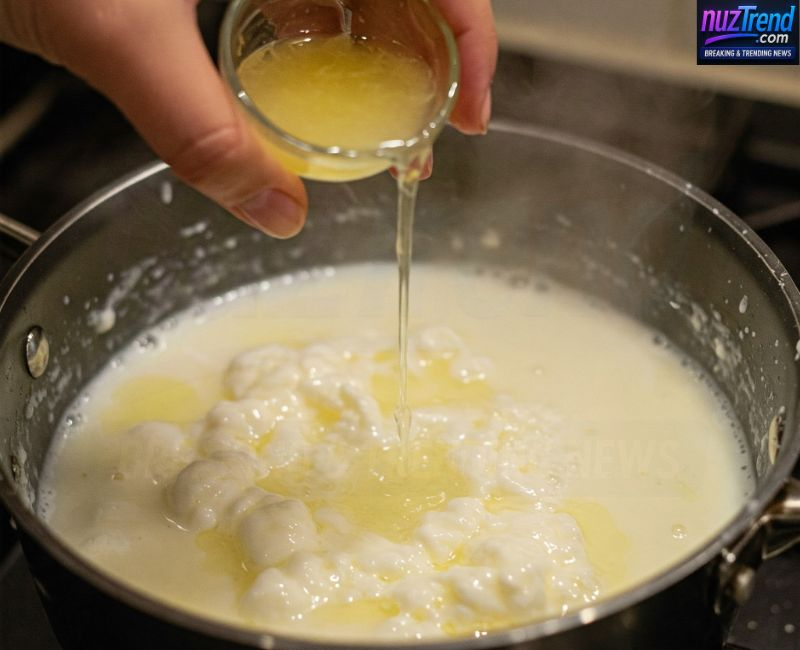
Add the lemon juice slowly while stirring. The milk will curdle — you’ll see white curds separating from a greenish liquid (whey). If it doesn’t split, add a bit more lemon juice.
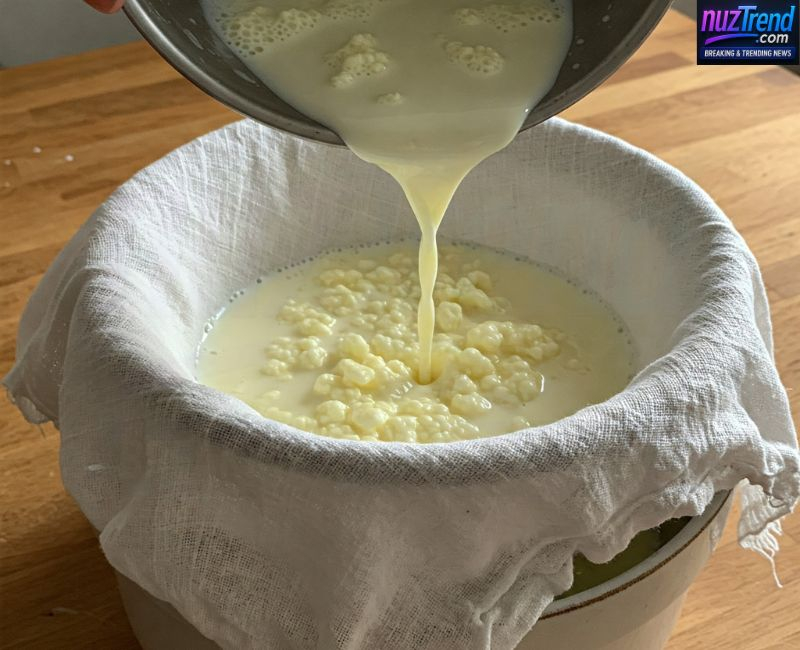
Turn off the heat. Place your muslin cloth over a strainer or bowl and pour the mixture through it. The curds will remain in the cloth — this is your paneer.
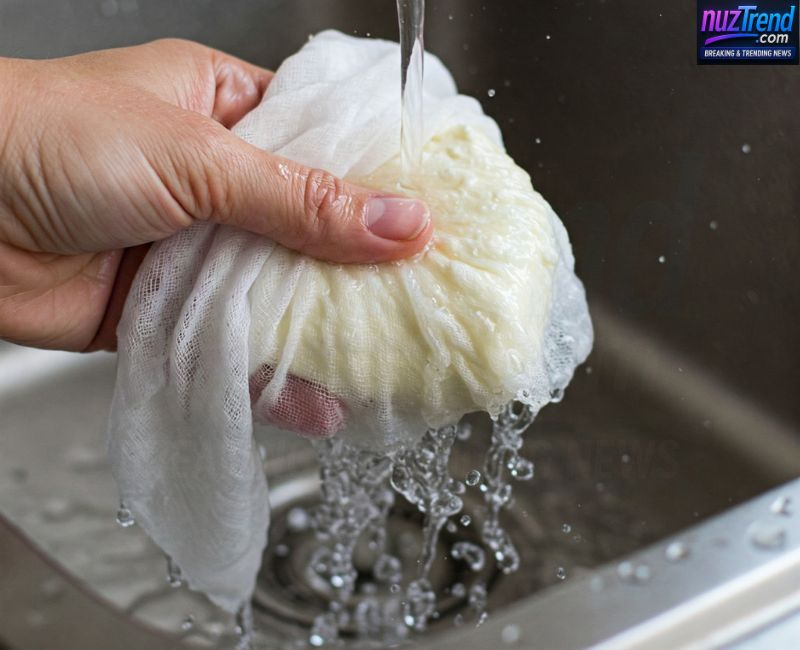
Rinse the curds gently under cold water to remove the lemony taste. Then gather the cloth, squeeze out excess liquid, and press the bundle under a heavy object (a pot filled with water works) for 30–45 minutes.
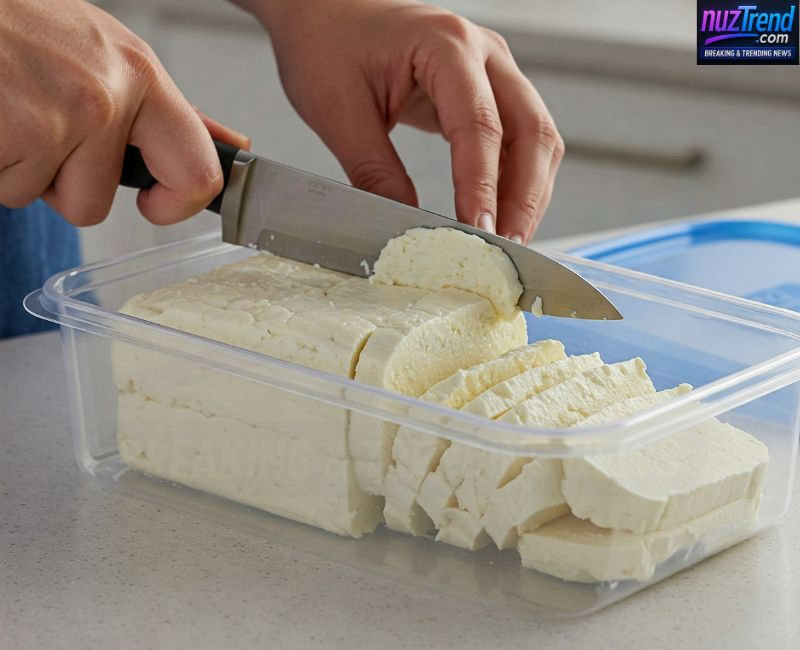
Unwrap the cloth and cut your paneer into cubes. You now have fresh, chemical-free, 100% pure paneer. Store in an airtight container in the fridge for up to 3 days.
This isn’t just about saving money — it’s about protecting your family’s health. Homemade paneer:
With fake paneer silently replacing the real thing, your kitchen becomes your best defense. One pot, one lemon, and 15 minutes — that’s all it takes to make your own soft, pure, and nourishing paneer at home.
Because your health is worth it — and real food should always be real.
No comments yet! Be the first one to comment.

Date: 01-May-2025
Discover turmeric morning drinks, the 2025 trend to boost your energy with anti-inflammatory benefits. Try easy recipes to start your day with a zesty kick.

Date: 02-May-2025
Discover comforting and joyful breakfast ideas that uplift your mood, reduce morning anxiety, and give you something positive to look forward to every day.